ESP32-CAM: Unboxing and Setting Up

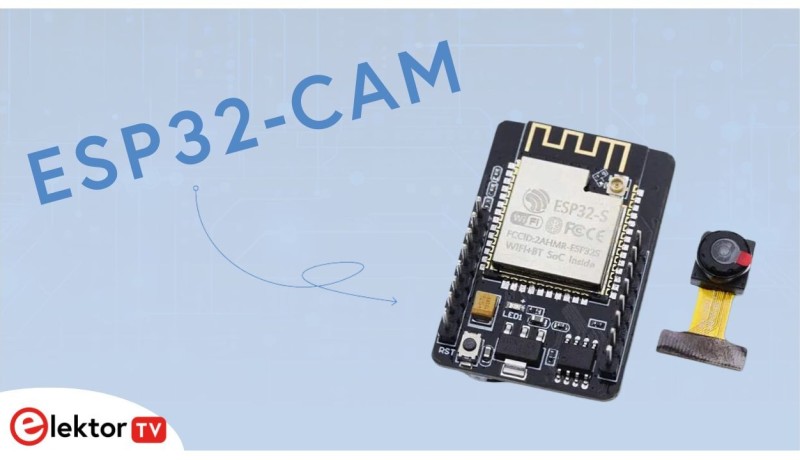
Wouldn't it be great to be able to combine the power and benefits of ESP32 microcontrollers with a camera, for image-based applications? Well, it's possible. Discover the ESP32-CAM module in the video below. It provides a detailed overview of the ESP32-CAM, highlighting its features, setup process, and potential applications. The ESP32-CAM is a development board with Wi-Fi and Bluetooth capabilities, featuring an ESP32S chip module, an OV2642 camera, a micro SD card slot, nine GPIO pins, an onboard LED flash, onboard flash memory, 520 kB internal RAM, and 4MB PSRAM. It can be programmed using various environments, including the Arduino IDE, Espressif IDF, MicroPython, JavaScript, Lua, and PlatformIO in VS Code.
The video will first show what is included in the ESP32-CAM package, which is pretty compact. The lack of USB connectivity on the board necessitates the use of a USB to TTL serial converter for programming, such as one with a FTDI or a CH340 chip. The video also shows how to use an Arduino Uno board as a workaround. The board is breadboard-friendly, for easy prototyping.
Using the Arduino framework as an example, setting up involves adding ESP board libraries to the Arduino IDE, selecting the ESP32-CAM board, and flashing the program to the board. Here, the Camera Web Server example is used. This setup enables the board to stream video and take snapshots over Wi-Fi. There are several different variants of the ESP32-CAM, so check carefully if the specs of the particular unit you are buying correspond to your needs.
This kind of equipment, combining a camera with Wi-Fi, promises great creative possibilities. What new DIY system are you going to invent with the ESP32-CAM?
