Arduino Pomodoro Timer
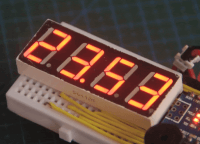
Create a nice Pomodoro Timer with this fun hands-on project and improve your productivity!
This project is also available at Max Imagination’s Workshop.
Welcome, fellow makers! Today, we're diving into the world of productivity and time management with a hands-on project – the Arduino Pomodoro Timer. This nifty gadget combines the power of Arduino programming with the popular Pomodoro Technique to help you supercharge your work sessions and maintain peak productivity.
What is the Pomodoro Technique?
The Pomodoro Technique is a time management method developed by Francesco Cirillo in the late 1980s. It's a simple yet effective approach that involves breaking your work into focused intervals, traditionally 25 minutes in length, separated by short breaks. These intervals are known as "Pomodoros," named after the Italian word for tomato, inspired by the tomato-shaped kitchen timer that Cirillo initially used.
Components Needed
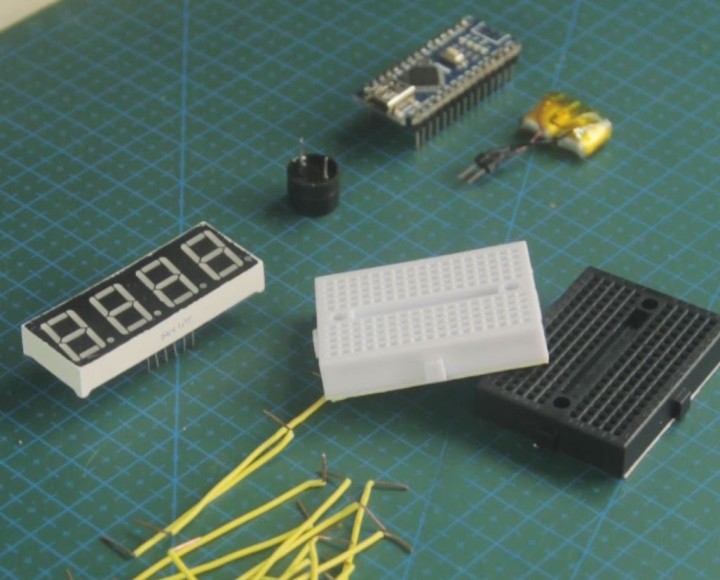
Before we dive into the intricacies of how our Arduino Pomodoro Timer functions, let's take a quick look at the components you'll need:
- Arduino Nano: The brain of our timer, handling the programming. https://amzn.to/3UeZp08
- 4-digit, 7-segment LED Display: To visually indicate the remaining Pomodoro time. https://amzn.to/497sZJd
- Only button - Arduino's Reset Button: For resetting the timer.
- Buzzer: Provides audible alerts for Pomodoro intervals. https://amzn.to/4bhisx8
- 7.4V Battery: 2-cell Lithium Polymer battery pack as the device's mobile power supply
- (x2) Mini breadboards - https://amzn.to/48MMB5N
- Jumper wires - https://amzn.to/3vZbE6O
How It Works
- Set Your Work Time: Make changes in the code where labeled to set the desired work and rest time for each Pomodoro session.
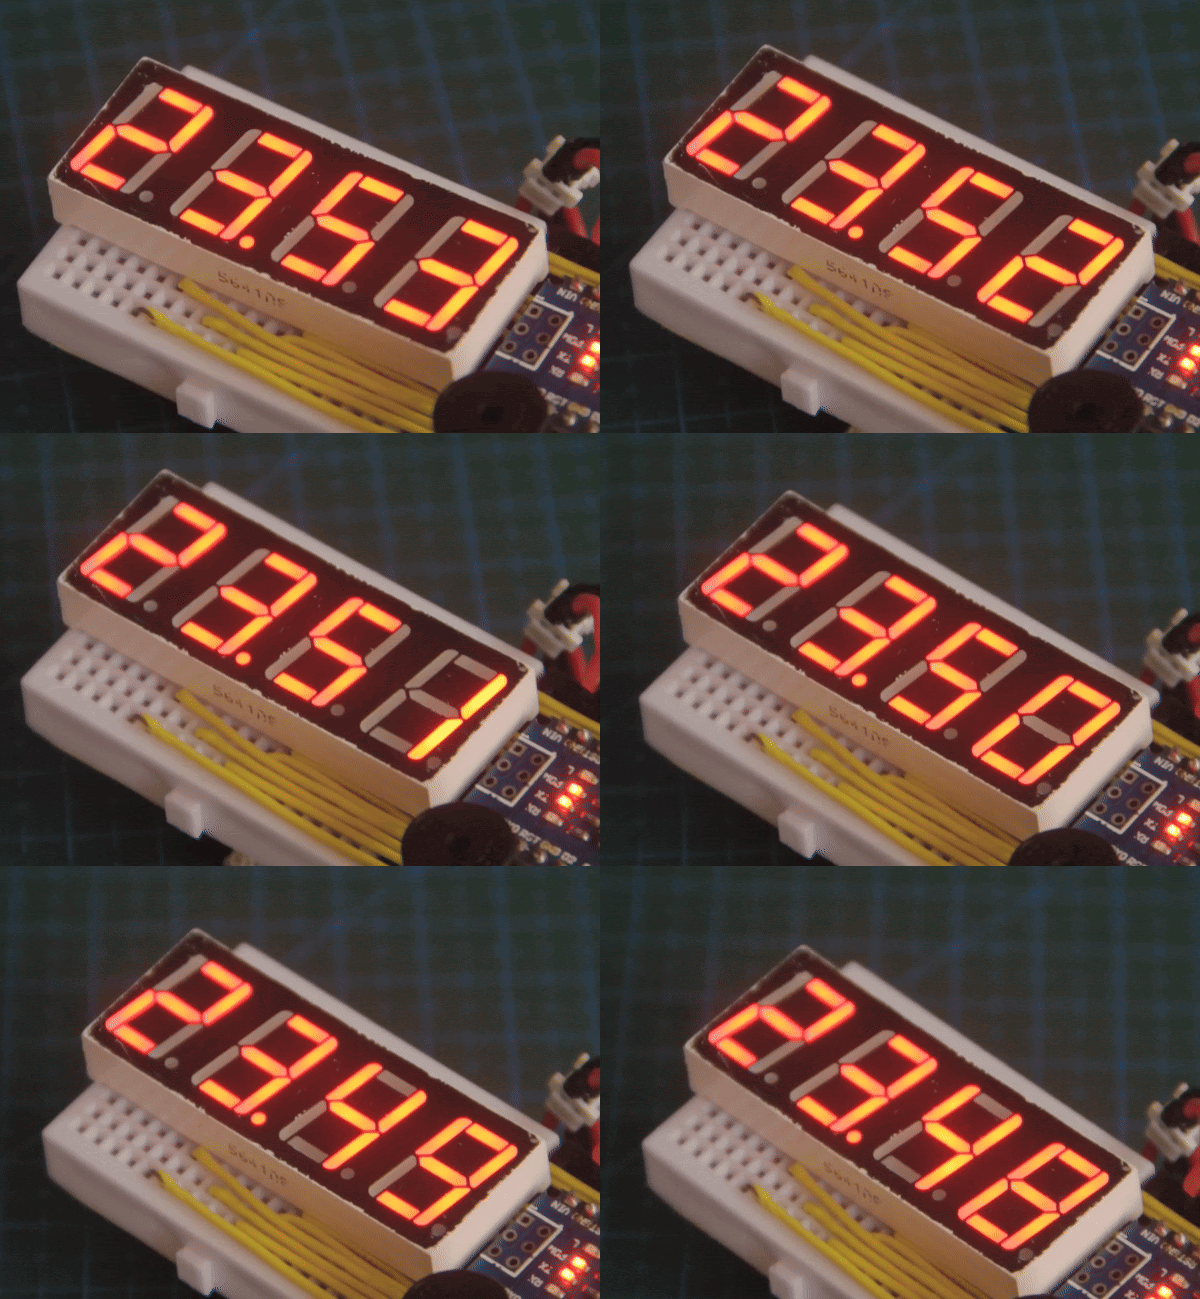
- Start: Activate the timer by powering it on, and the LED display will begin counting down the minutes until your break.
- Stay Focused: Work diligently until the timer completes a Pomodoro cycle, signaling a break.
- Enjoy Breaks: Once the timer reaches zero, the buzzer sounds, and the display resets for your break time.
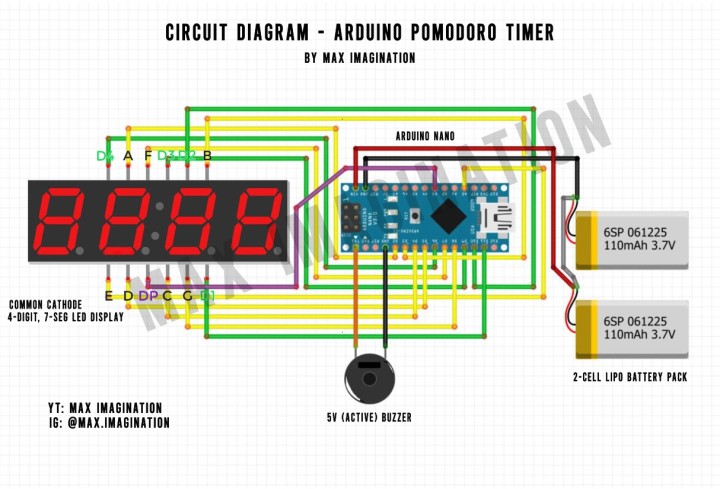
Circuit Diagram:
Building the Timer
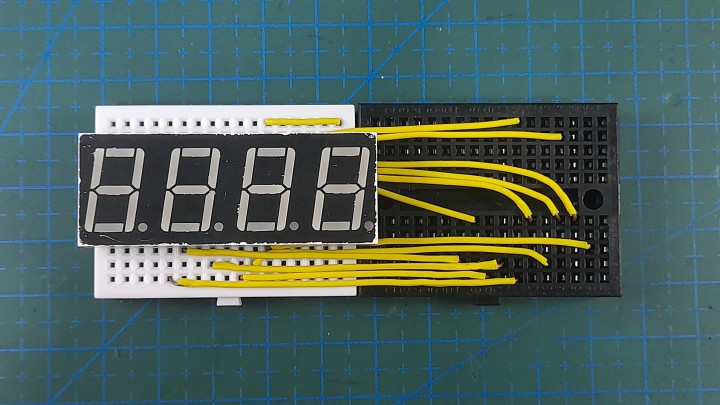
Refer to the schematic and place the connections on the breadboard. You can start by placing all the wires:
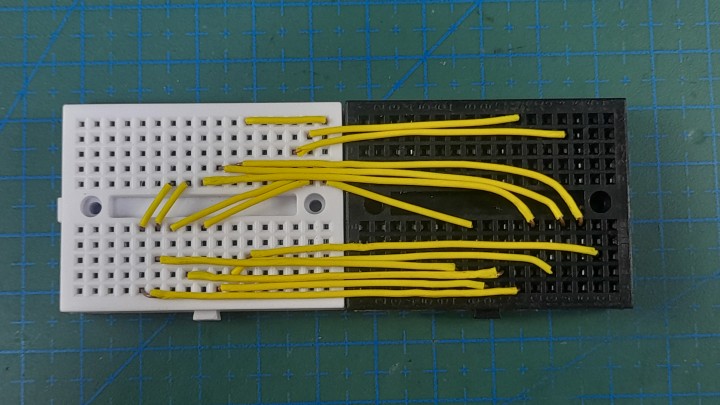
Then, you can insert the 7-segment displays in the appropriate holes:
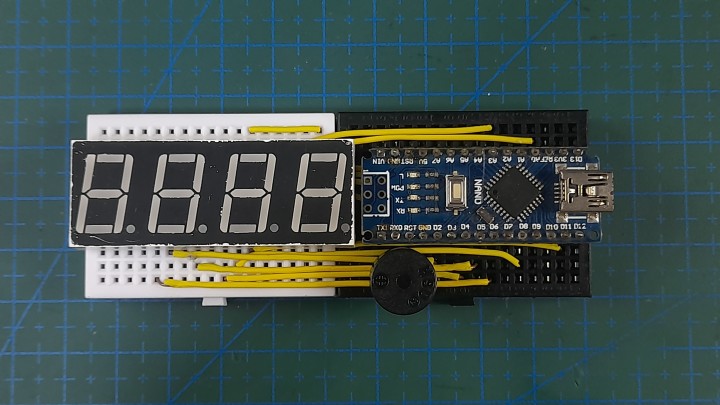
Finally, insert the Arduino board:
Pomodoro Timer Code
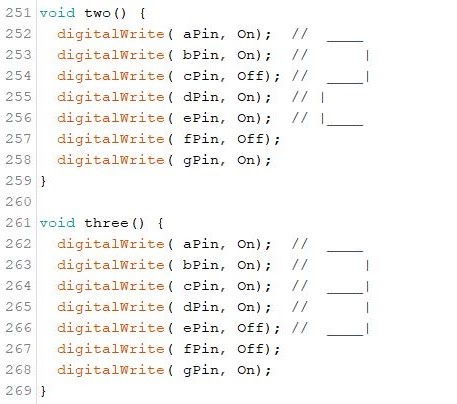
The Arduino code (program) used to run the time is attached to this project, see the file list below. Use the Arduino IDE to program the board.
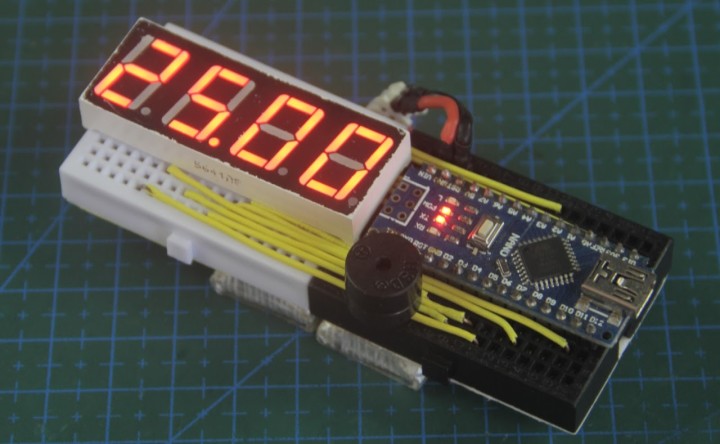
There you have it! Enjoy the finished timer!
Conclusion
Incorporating the Pomodoro Technique into your workflow can be a game-changer, and with our DIY Arduino Pomodoro Timer, you have a personalized tool to make it happen. If you're ready to boost your productivity and maintain a healthy work-life balance, this project is for you.
Remember, the assembly instructions are available in the accompanying video below. So, flip out your breadboard, load up the Arduino IDE, and let's make time work in our favor!
Happy making, and here's to more focused and productive days ahead!


Discussion (0 comments)