Review: PaPiRus ePaper Screen HAT for Raspberry Pi
Fragile, be careful
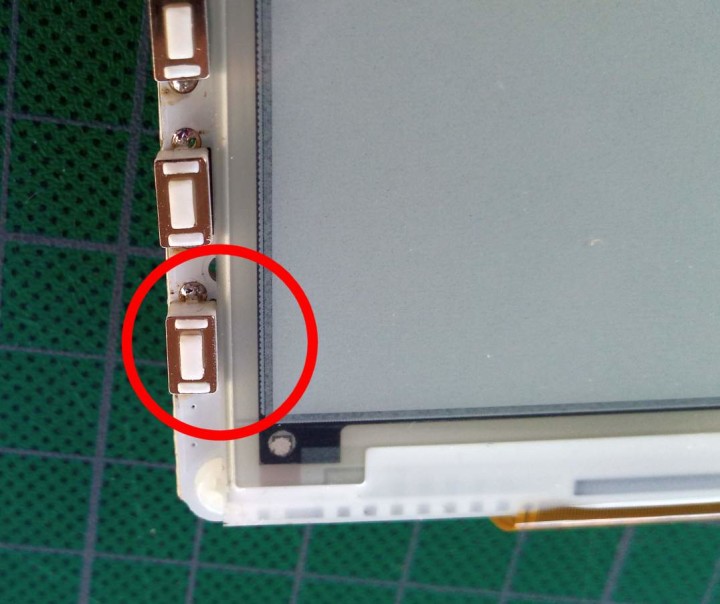
The display connects to CN1. Open the lid and slide the flexible flat cable as far in as possible, then close the lid. Fold the cable around the PCB. As mentioned above the pushbuttons may be in the way, so be careful and don’t force anything.
The four bi-adhesive pads can be used to stick the display to the board. However, the display is fragile (it is only 1 mm thick) and the bi-adhesive pads do their job very well. Replacing a broken display therefore can be difficult and it is recommended not to use the bi-adhesive pads until your application is ready to be built into a suitable enclosure.
Note that the 2.7” display makes the assembly too long to fit in most standard Pi enclosures. Also know that the HAT offers the possibility to be connected to the Pi by means of a ribbon cable.
Software installation
Move over to GitHub to learn how to install the software for the PaPiRus HAT. The easy way is to run the command:$ curl -sSL https://pisupp.ly/papiruscode | sudo bash
This will result in a question about which version of Python you want to use. I recommend installing it for both Python 2 and 3.
My installation ended with the error:
A dependency job for epd-fuse.service failed. See 'journalctl -xe' for details.
This problem went away after rebooting the RPi. Entering the command
$ sudo papirus-config
let me set the screen size and start the display driver without problems. Note that at the time of writing only the screen size and driver enable/disable options were implemented in this tool, the other options didn’t work (yet).
Try the PaPiRus ePaper Screen
To see if the display is working type the following command at the RPi prompt:$ papirus-test
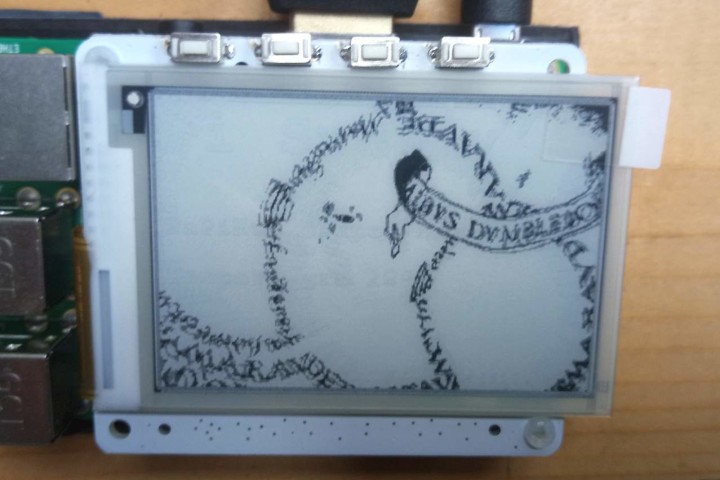
When all is well you should see an animation. When it terminates you can press the pushbuttons where you should keep in mind that SW1 (exit) is at the right while SW4 is at the left.

There is a bunch of example commands that you can try from the command line — papirus-clock, papirus-gol, papirus-radar, etc. Some of them need the GPIO Zero (gpiozero) library so you might want to install it first if you don’t have it already.
Read full article
Hide full article


Discussion (0 comments)