Elektor Lab Notes 21: Digital Music, Battery Testing, Test Equipment, and More
on

Saad Imtiaz (Senior Engineer, Elektor)
Lab Notes: Battery Monitoring System and Car Sensor Dashboard
Battery Monitoring System for Lead-Acid UPS Batteries
One of my latest projects is a Battery Monitoring System designed specifically for the lead-acid batteries powering my UPS. The primary goal of this system is to track key metrics like battery voltage, charging and discharging cycles, and even monitor the temperature of the batteries.
Lead-acid batteries, especially those used in UPS systems, are not maintenance-free, making it essential to monitor their performance and health closely. By tracking key parameters such as voltage, charging and discharging cycles, and temperature, this monitoring system will provide real-time insights into the batteries' status and condition.
This approach ensures that the operational state of the batteries is consistently estimated, helping to identify any potential issues early on. Additionally, it enables continuous optimization of battery performance, ensuring that the batteries operate efficiently and have an extended lifespan. This is particularly beneficial in environments where reliable backup power is critical, as it reduces the risk of unexpected failures and maximizes the overall utility of the battery system.
Car Sensor Dashboard for a 2001 Land Cruiser
Another exciting idea I’m exploring is creating a modern dashboard display for my 2001 Toyota Land Cruiser. Despite being a reliable beast, it lacks the sophistication of modern car dashboards. Luckily, it has an OBD2 port, which provides access to the vehicle's CAN BUS data.
The plan is to use this port to extract sensor data (like engine temperature, fuel efficiency, oil pressure, boost and more) and display it on an LCD in a sleek, modern format. This will provide better visibility of critical parameters.
These projects are in their early stages, but I can already see the potential they hold. Whether it's keeping my UPS batteries in top shape or giving my Land Cruiser a much-needed tech upgrade, I’m excited to share the progress with you all soon!
Jean-François Simon (Engineer, Elektor)
What’s new in the lab? As I mentioned in the previous Lab Notes, I recently acquired a second-hand Advantest R3132 spectrum analyzer. The only issue? It’s broken! However, I thought it would be an interesting challenge to attempt to repair it. I was fully aware of the problems before purchasing it, which is why the price was discounted. The first issue is a “BACKUP RAM FAIL” message. This is a typical problem caused by a dead backup battery that needs replacing — a relatively minor issue. The second problem, however, is more serious. During self-calibration, the system reports an “RF FAIL.” Despite this, there’s a chance it can be fixed, as there are some known issues with this model series.
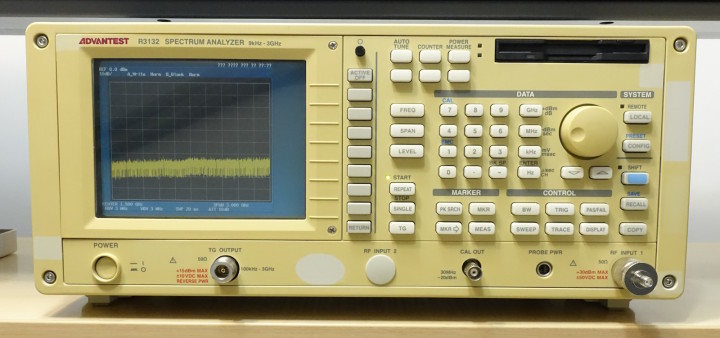
In the RF module, the second local oscillator (LO) is built on a substrate whose dielectric constant has shifted after over 20 years. On the EEVBlog forum, user Fraser studied these problems in detail and posted several informative documents outlining a repair procedure. In the simplest case, where no MMICs (monolithic microwave integrated circuits) have failed, adjusting the dielectric trimmer might suffice. This isn’t easy though, as the trimmer must be set to produce oscillation around 3.8 GHz at the output of the module. The exact frequency — 3840 MHz with the RF shield closed or 3805 MHz with the cover removed — depends on the specific procedure.
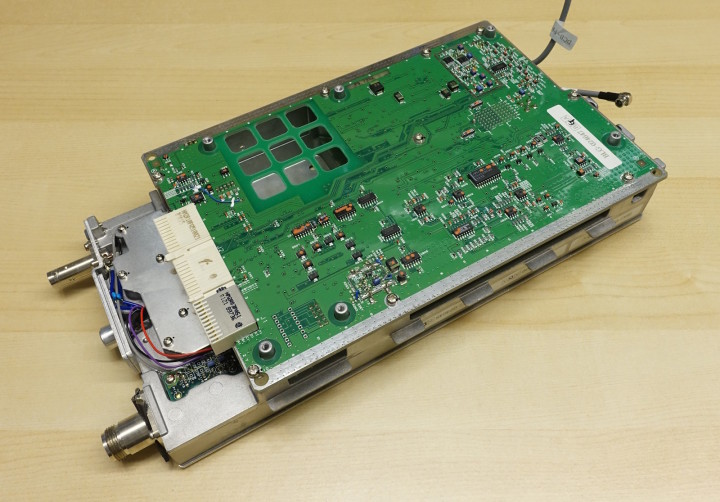
To aid in this adjustment, having a second spectrum analyzer would be useful for fine-tuning the trimmer to achieve both the correct frequency and maximum output level: this is a classic chicken-and-egg problem… Another option is to use a frequency counter with a frontend capable of handling such high frequencies. For this purpose, I acquired the FA-3 frequency counter from the Chinese brand BG7TBL, in its 6 GHz maximum version.
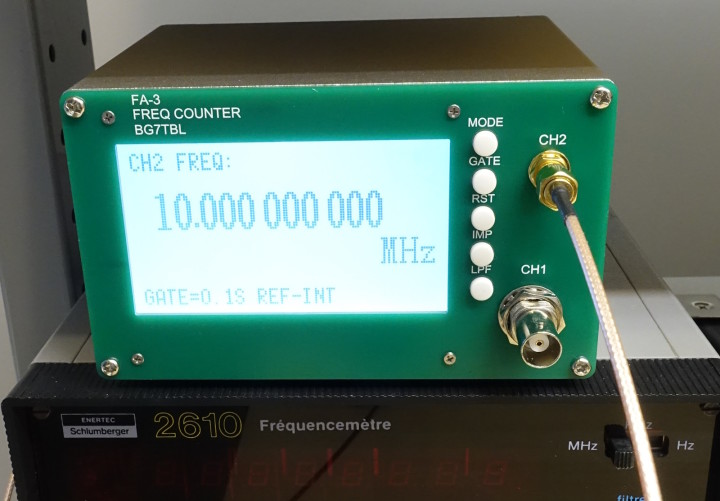
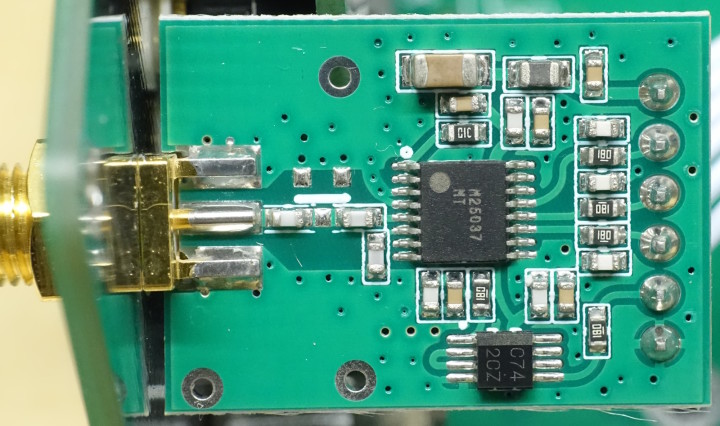
The FA-3 is equipped with a 10 MHz OCXO serving as a reference, a microcontroller board doing the counting on Channel 1 up to 300 MHz and a 6 GHz prescaler on Channel 2. Out of curiosity, I tried to identify the IC used for the prescaler but couldn’t. It is marked “M 25037 MT,” which corresponds to the LM25037, a PWM controller from Texas Instruments that seemingly has nothing to do with a 6 GHz prescaler. Could I be missing something? Erased markings are common in imported products like these, but this is the first time I’ve encountered a purely decorative marking on an otherwise functional IC! If you have a clue, tell me in the comments, and to find out whether I managed to repair my R3132, stay tuned for the next installment!
Jens Nickel (Editor-in-Chief Elektor Magazine)

A Wooden Housing with Swappable Battery
In Lab Notes #15, I had reported on a pet project I am doing with a friend: battery-powered mono amplifier stations, remote-controlled and with a wireless connection for audio coming from a music player or DJ. Back then, we used ready-made plastic boxes as housings, but now, we wanted to integrate a fan, and use the space more efficiently. First we thought on 3D-printing, but for a length of around 30 cm you need an XXL printer. Then we had the idea to use wood instead, and in the meantime we already build different wooden housings (the photo is showing our first prototype, with 10 mm MDF, we are now on 5 mm). As we want to close the cover permanently to have a robust solution, the exchange of the battery (in order to swap them in the field) is a challenge. Our idea is a kind of backdoor, but fiddling in the wires can be tough, and we still have to find a good mechanism to lock the door.

Digital Audio Transmission
For the wireless Audio signal transmission, we are still using good old FM radio (the same system they are using for headphone parties and for guided tours). I did some experiments with the new Bluetooth LE Audio standard, but first results about the latency were not satisfying. The requirements are high, when DJs must match the beats of a "local" headphone and a wireless speaker. You will hear mismatches of 25 ms clearly, so the latency of the Wireless audio transmission must be 20 ms or lower. I did a lot of research and found out that Phil Schatzmann, the maker of the famous Arduino Audio Tools, did some experiments streaming audio via ESP-NOW: a low latency protocol which is built on top of the physical layer of Wi-Fi, but without the TCP/IP overhead. That raised my interest, and after buying some different I2S-modules and ESP32-based Audio boards and a lot of hours spent, I achieved at least a transmission of 32 kHz / 16 bit uncompressed audio, which is not bad for a protocol which was (with a packet limitation of 250 bytes) not meant for continuous audio transmission. The picture is showing one of my most successful tests, you can see a latency below 20 ms. However, this is just 1 channel, and I still got cracks and noises here and there, so I am far from having a well working solution. And I still have the challenge that the transmission of the left channel must be synchronized with the right channel. However, I already made succesful experiments the last days to synchronize different wireless devices with a precision of about 1 or 2 ms - and I am also using ESP-NOW for that. More on this to follow!
Brian Tristam Williams (Editor)
The Sound of Music
With some down time over Christmas and New Year, I'm going to be playing with music. I've just finished an article on getting a Raspberry Pi to synthesize audio for a synthesizer-less MIDI keyboard, and now I'm experimenting with AI to make things interesting. Can't afford a backup player? Maybe it can be done using edge computing.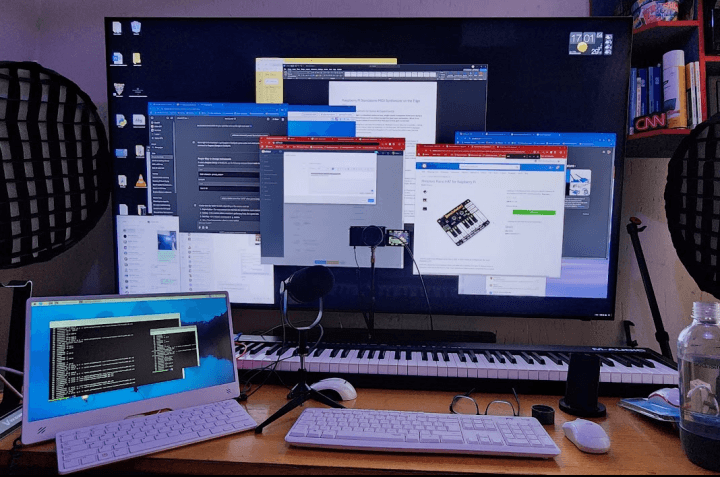
Perhaps a GUI, for Once
I prefer to run my Raspberry Pis headless, i.e., no monitor, keyboard, or mouse, and for this task that's fine. Most of the time it will output audio only, and control would be from the music keyboard. However, should I decide a user interface is in order, this official Raspberry Pi Touch Display 2 might be suitable:

Information Overload
I'm also experimenting with a mammoth digitizing task. I have hundreds of videotapes with a lot of rare footage that you can't find anywhere else. Digitizing is one thing (it does come with a truckload of complexities though), but what's the use of a thousand hours of footage when you don't know what's where? You need it to be searchable. So, again I'm trying to use various AI tools to transcribe, detect, recognize, read text from the screen, and so on.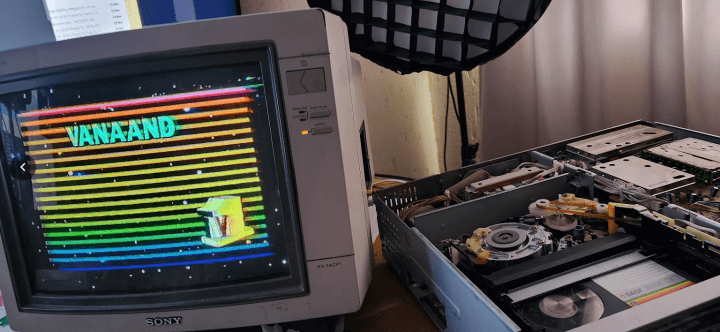
so you're likely to find one with the covers off when I'm using it.

information that could easily be scraped.

audio was the accompanying audio — plenty to transcribe there!
BeagleY-AI
I usually default to Raspberry Pi when a suitable project idea comes up, but I want to put the BeagleY-AI from BeagleBoard.org through its paces this December, especially its on-board AI functionality.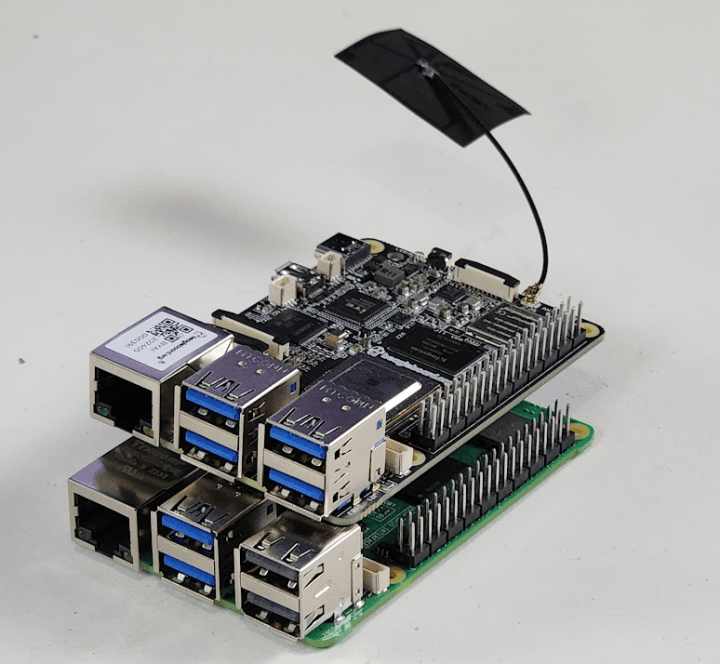


Discussion (0 comments)