EleksLaser A3 Pro: a 21st century branding iron
May 30, 2018
on
on
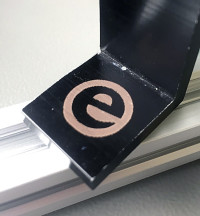
 Technical innovation brings engraving up to date and within everyone's reach. The good old principle of the XY table is used here with a laser diode instead of the ordinary plotter pen. Although the laser is rated at just 2.5 watts, that's sufficient to permanently mark materials as diverse as wood, leather, cardboard, various types of film and even anodized or painted aluminum.
The laser module is moved above the surface to be engraved by stepper motors and a proven belt mechanism. Everything is controlled by software that can run on on any ordinary computer.
Text & images in vector or bitmap format
Using a laser engraver, it was never easier to personalise objects with inscriptions and markings, designs or logos at your convenience. You can use text and images in either vector or bitmap format.New fields of application are opening up for creative minds, as the new laser engraver tested and recommended by ElektorLabs offers an large effective working area of 38 x 30 cm. If the object to be engraved does not fit on the table, simply place the engraver on the object!
Easy to assemble
There are several assembly videos available (including the one below) but also a very useful step-by-step photographic documentat with good close-ups. On the mechanical side, no special skills or tools are required, on the electronic side there's nothing to solder -- everything is ready to connect (Arduino inside!).Allow half a day for assembly and handling. Be patient, knowing that it is by engraving that one becomes an engraver! Tests must be repeated to find the right settings not just for each material, but also for each image.
Experienced users have already experimented in more specific fields such as printed circuit board engraving, and more specifically, flexible PCBs. That's exactly where this engraver has serious assets, also for electronicists keen to go off the beaten tracks.
Read full article
Hide full article


Discussion (0 comments)