Pi Desktop and the Raspberry Pi make a PC like the others

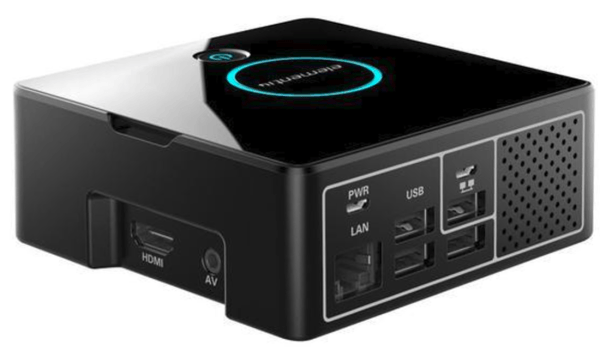
A case for the Raspberry Pi and its jewels
To summarise, this kit contains- the extension card
- a heastsink for the microcontroller on the RPi board
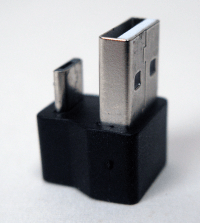
- a USB coupler (opposite)
- screws and spacers
- the square box (10.8 x 10.8 x 4.5 cm) and its lid
- a CR2032 button cell
To get it working, you need the following items, not included in the kit:
- Raspberry Pi 2 or 3 (or probably B+, but we’ll have to confirm that)
- Raspbian Jessie with PIXEL on a micro SD card
- HDMI monitor and cable
- keyboard and mouse
- a 5 V power supply at 2.5 A (RPi 3) or 2 A (RPi 2)
You’ll get a lot more out of your Pi Desktop if you add these two modules, also not included in the kit:
- camera
- SSD mSATA module or USB flash memory module

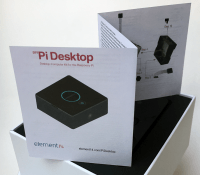
The assembly, in just ten steps, does not need any particular skill; the box (a quality plastic one) is ready to use. There’s no wizardry, but the documentation supplied with the kit – a modest half A4 page (which you don’t need a magnifying glass to read) is not really satisfactory. Better to look at the online information, of which the principal merit, apart from readability, is being up to date. Of course, before starting, you will need the software for the Pi Desktop. The documentation offered by the manufacturer is complete (see the selection below).

Basdically, the extension card is mounted on the RPi, like a HAT. Other than the GPIO connector already mentioned, the USB interconnection between the RPi and the extension card of the Pi Desktop is made externally by a USB coupler supplied with the kit.
The use of one of the RPi’s USB connectors for the connection with the extension card is not compensated for; the 2nd (micro) USB connector on the extension card is the power connector.
Thanks to the integration of WiFi and Bluetooth into the RPi 3, you could in principle connect the appropriate peripheral devices (keyboard, mouse…) by this means. However the manual advises that for starting up, a usb connection is required.
The only other requirements are an HDMI link to the screen and a power supply (of good quality) without which nothing will work.
The RPI is not that cumbersome, but once it’s put in the case, it’s even more discreet. And it’s there that the PI Desktop kit proves its worth.

Sources and documentation :
- Indispensable – The up to date version of the Debian distribution:
Pi Desktop Debian Package v1.1.0 and definitely also the manual (PDF) - Recommended reading for a good general understanding of the project:
Desktop computer kit [...] that can turn a Raspberry Pi into a real desktop PC - To boot the Raspberry Pi3 from USB mass storage instead of from the micro SD card: How to boot from a USB Mass Storage Device on a Raspberry Pi 3
And more precisely for the Pi Desktop: Pi Desktop: Booting from the SSD And for geeks: controlled management of the shutdown and power-up
You can find on this site (apparently linked to the manufacturer) a detailed description of the building up of the Pi-Desktop and its transformation into a multimedia server, a great application for this device.


Discussion (0 comments)